-
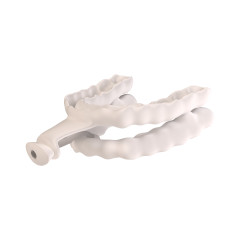 Item # CNFTAPThis product is a custom lab appliance. Please choose the "Send us a Case" option on the product page or top menu bar.In stock
 -
Great Lakes Exclusive
This item is exclusive to Great Lakes within the United States or other territories.
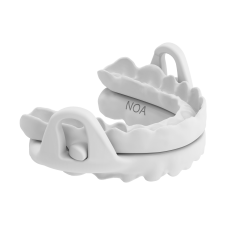 Item # INOAThis product is a custom lab appliance. Please choose the "Send us a Case" option on the product page or top menu bar.In stock
 -
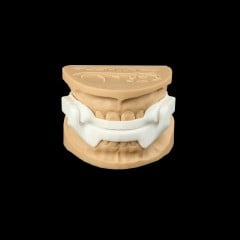 Item # IX3This product is a custom lab appliance. Please choose the "Send us a Case" option on the product page or top menu bar.In stock
 -
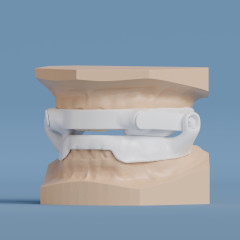 Item # IDSADThis product is a custom lab appliance. Please choose the "Send us a Case" option on the product page or top menu bar.In stock
 -
Great Lakes Exclusive
This item is exclusive to Great Lakes within the United States or other territories.
 Item # BMSEThis product is a custom lab appliance. Please choose the "Send us a Case" option on the product page or top menu bar.In stock
 -
Great Lakes Exclusive
This item is exclusive to Great Lakes within the United States or other territories.
 Item # INISTThis product is a custom lab appliance. Please choose the "Send us a Case" option on the product page or top menu bar.In stock
 -
 Item # IISTThis product is a custom lab appliance. Please choose the "Send us a Case" option on the product page or top menu bar.In stock
 -
 Item # IISTSThis product is a custom lab appliance. Please choose the "Send us a Case" option on the product page or top menu bar.In stock
 -
 Item # CEMAThis product is a custom lab appliance. Please choose the "Send us a Case" option on the product page or top menu bar.In stock
 -
Great Lakes Exclusive
This item is exclusive to Great Lakes within the United States or other territories.
 Item # CMRSThis product is a custom lab appliance. Please choose the "Send us a Case" option on the product page or top menu bar.In stock
 -
Great Lakes Exclusive
This item is exclusive to Great Lakes within the United States or other territories.
 Item # CMLSThis product is a custom lab appliance. Please choose the "Send us a Case" option on the product page or top menu bar.In stock
 -
Great Lakes Exclusive
This item is exclusive to Great Lakes within the United States or other territories.
 Item # CMESThis product is a custom lab appliance. Please choose the "Send us a Case" option on the product page or top menu bar.In stock
 -
 Item # CDTAPThis product is a custom lab appliance. Please choose the "Send us a Case" option on the product page or top menu bar.In stock
 -
 Item # CTAP1This product is a custom lab appliance. Please choose the "Send us a Case" option on the product page or top menu bar.In stock
 -
 Item # CTAP3This product is a custom lab appliance. Please choose the "Send us a Case" option on the product page or top menu bar.In stock
 -
 Item # CCFTAPThis product is a custom lab appliance. Please choose the "Send us a Case" option on the product page or top menu bar.In stock
Categories
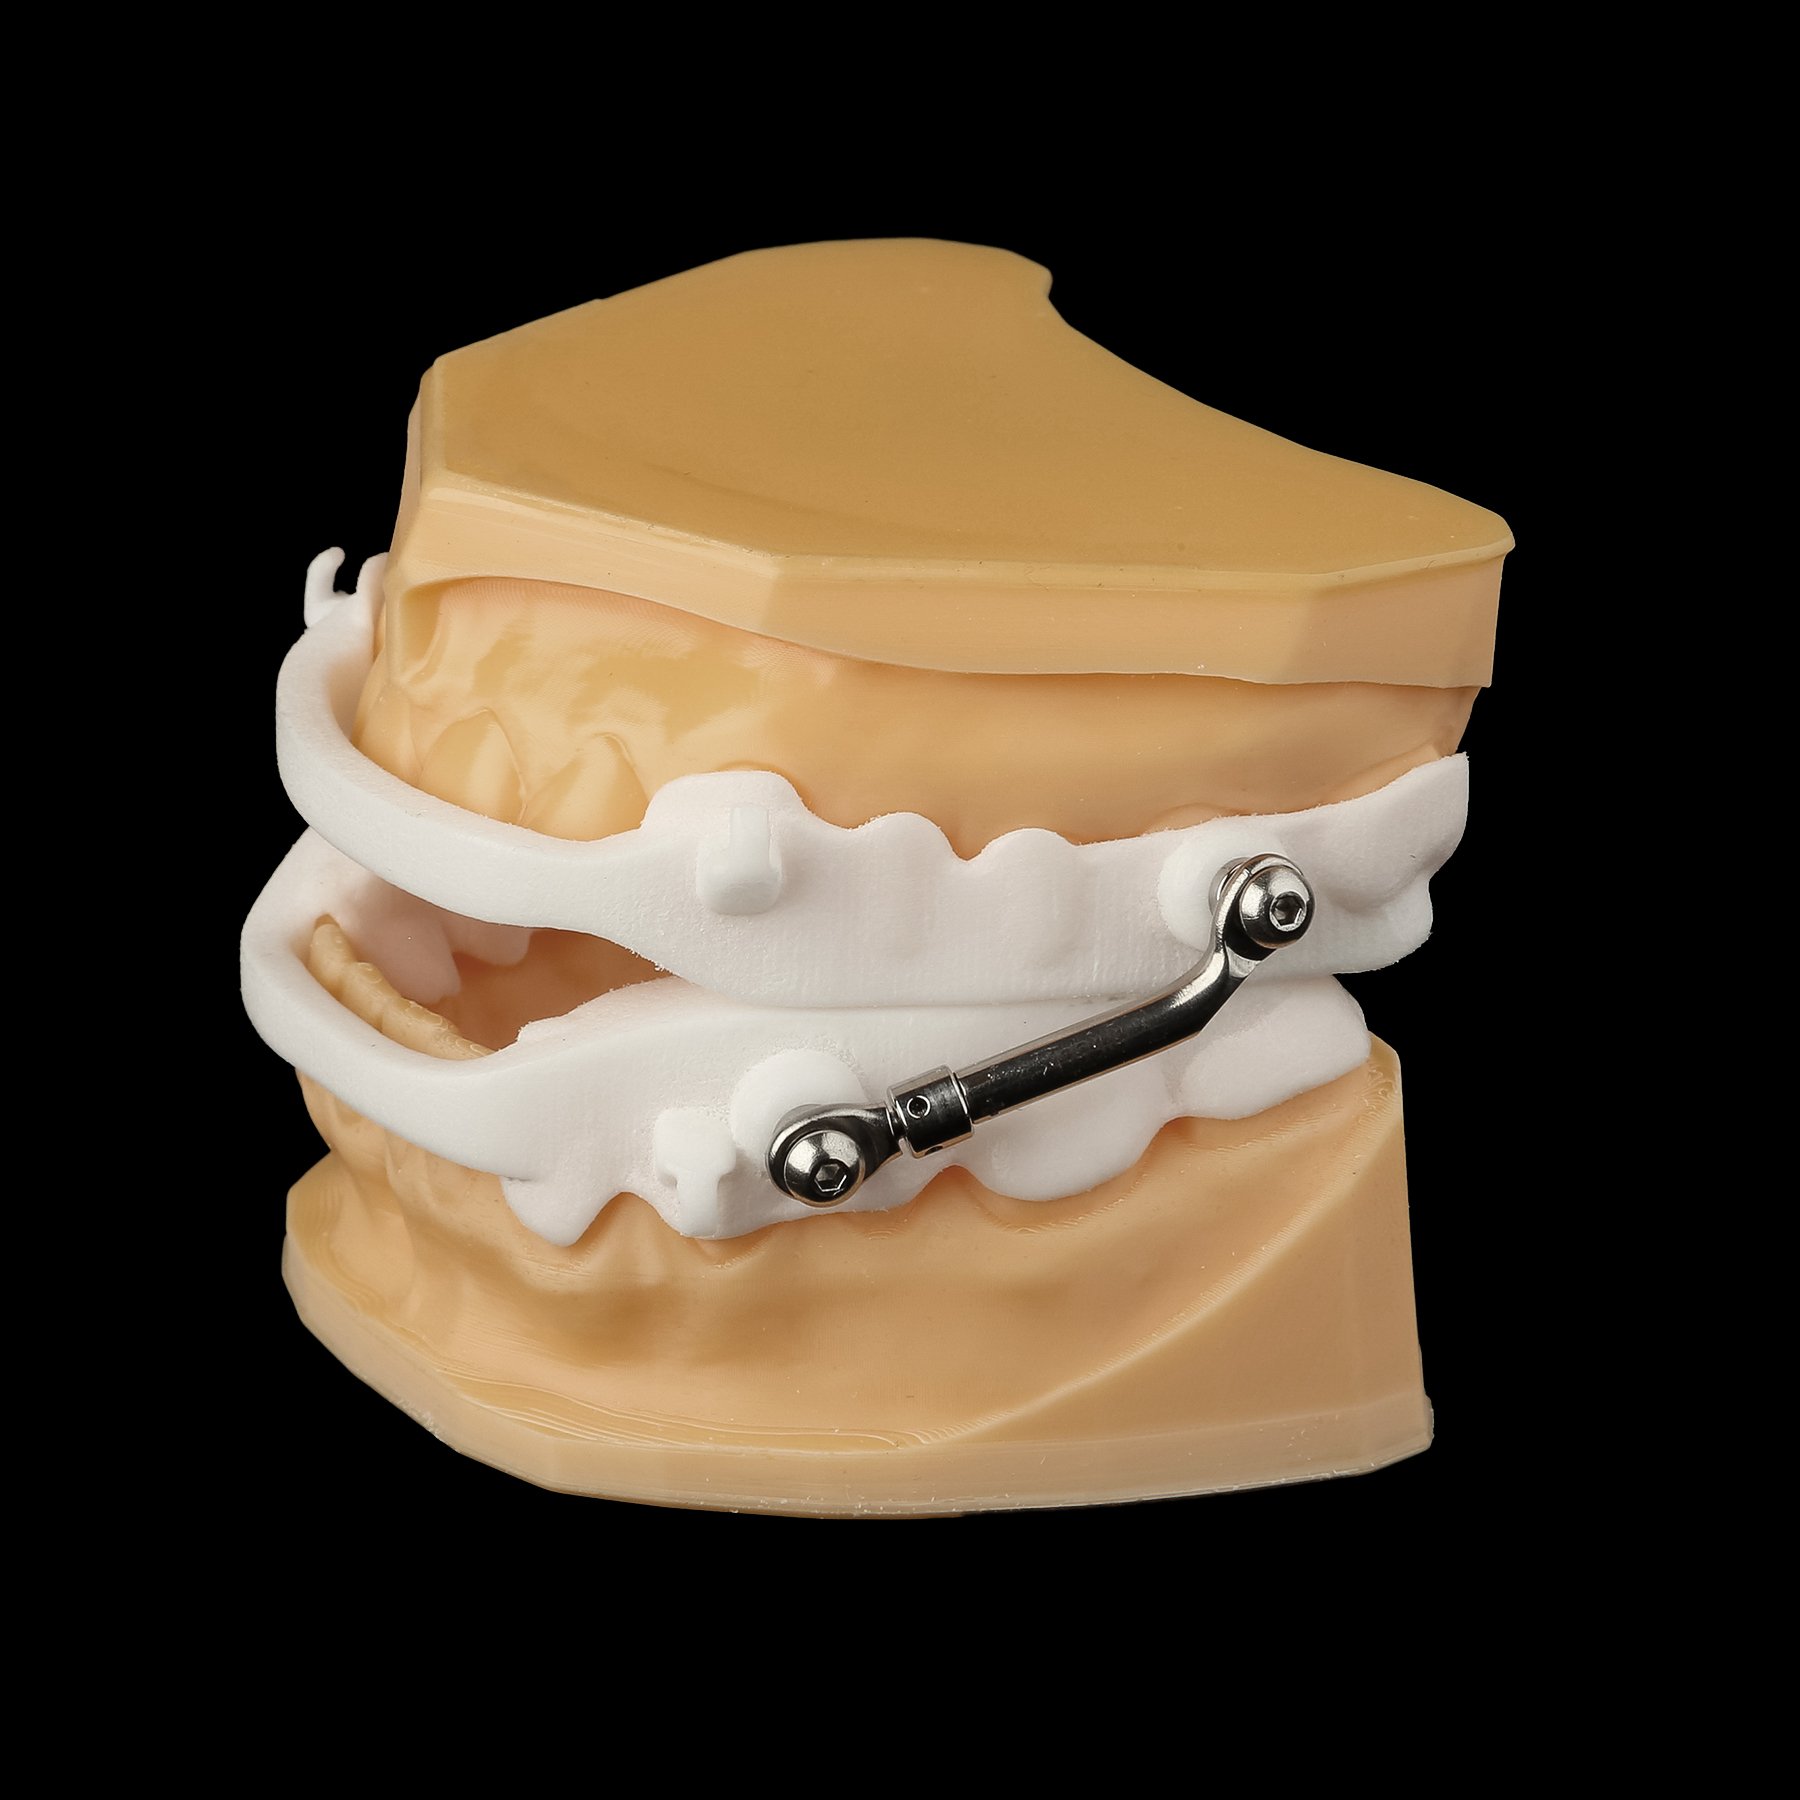
The Medley Appliance is designed to reduce or alleviate nighttime snoring and obstructive sleep apnea.
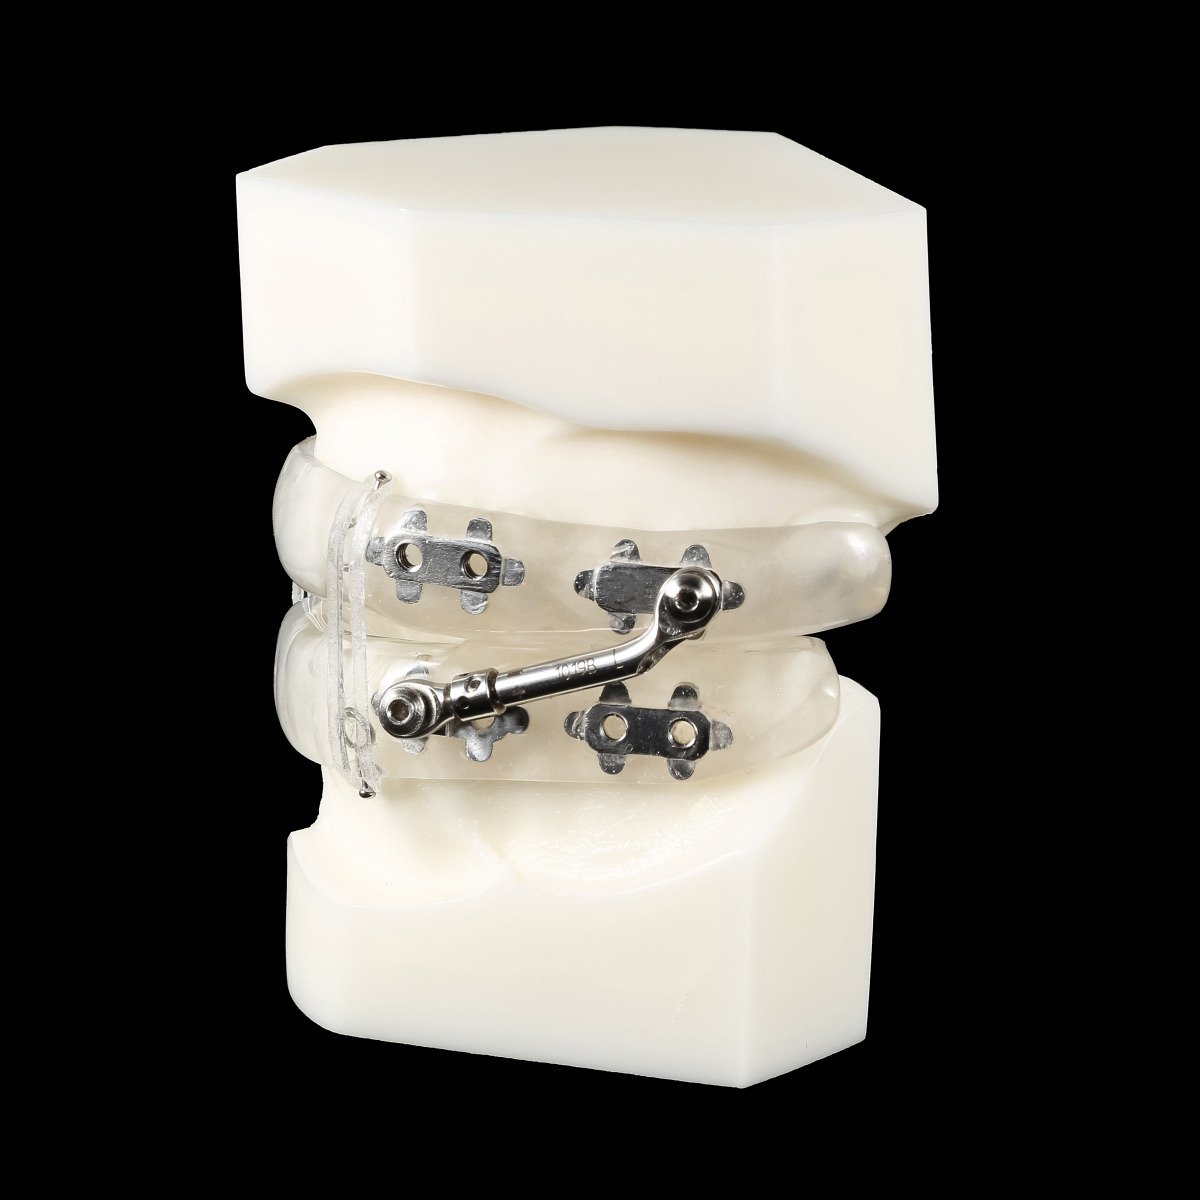
The Nylon Sleep Herbst Appliance is an extremely durable and strong appliance that offers uniquely flexible properties.